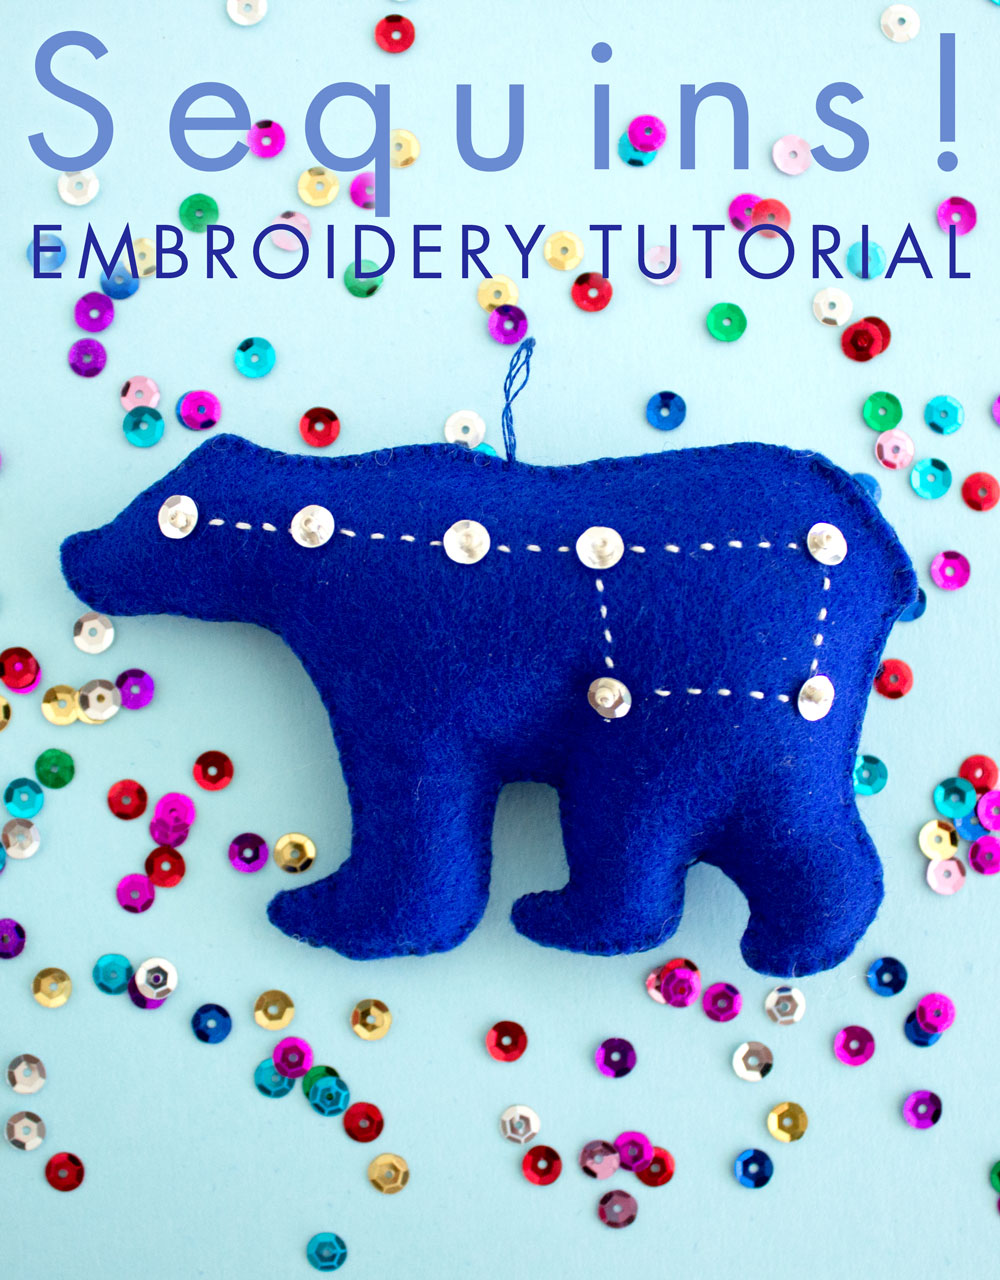
A few years back, I started making new felt ornaments for my tree every holiday season. Last year, I discovered sequins, and now I'm hooked. They just add so much fun holiday sparkle and cheer! Making felt ornaments with them is easy as pie.
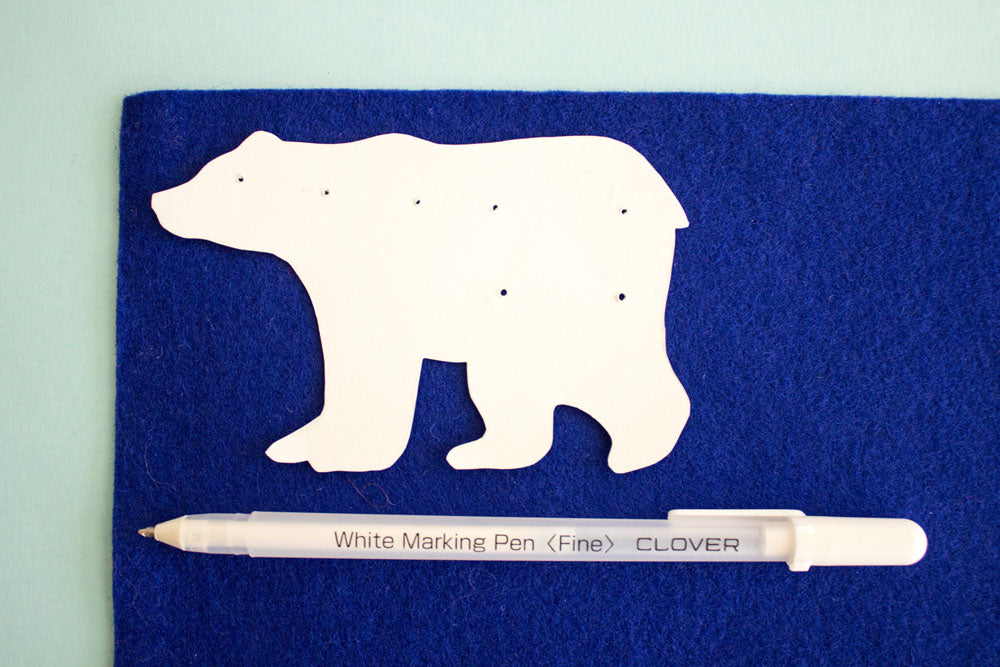
Step 1 Start with the shape you want to create and think of where you want to place your sequins. Here I'm making a bear with Ursa Minor on it. Use some card stock to create a stencil, and poke holes where you want to place your sequins.
Since I feel sequins work best on dark-colored felt, I always trace the stencil with a white marking pen for fabric. You can learn a bit about using these pens in my &Stitches post.
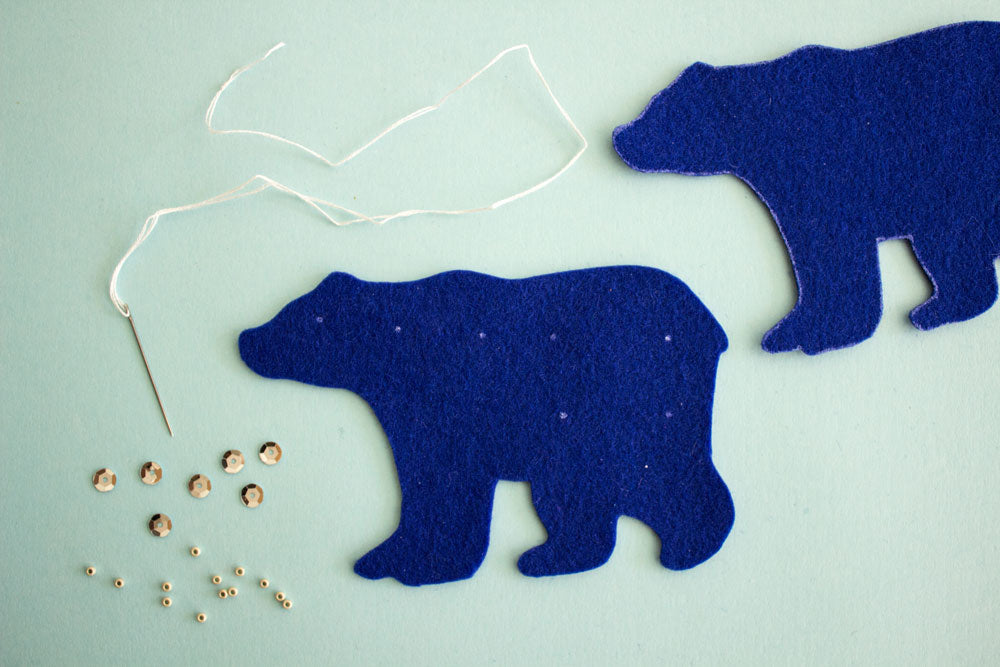
Step 2 Cut out two of your shape in your felt.

Step 3 To add your sequins, you'll need sequins and seed beads. You can find both at most craft stores. Bring your thread up to the front of your felt, thread the sequin onto the needle, followed by the seed bead.
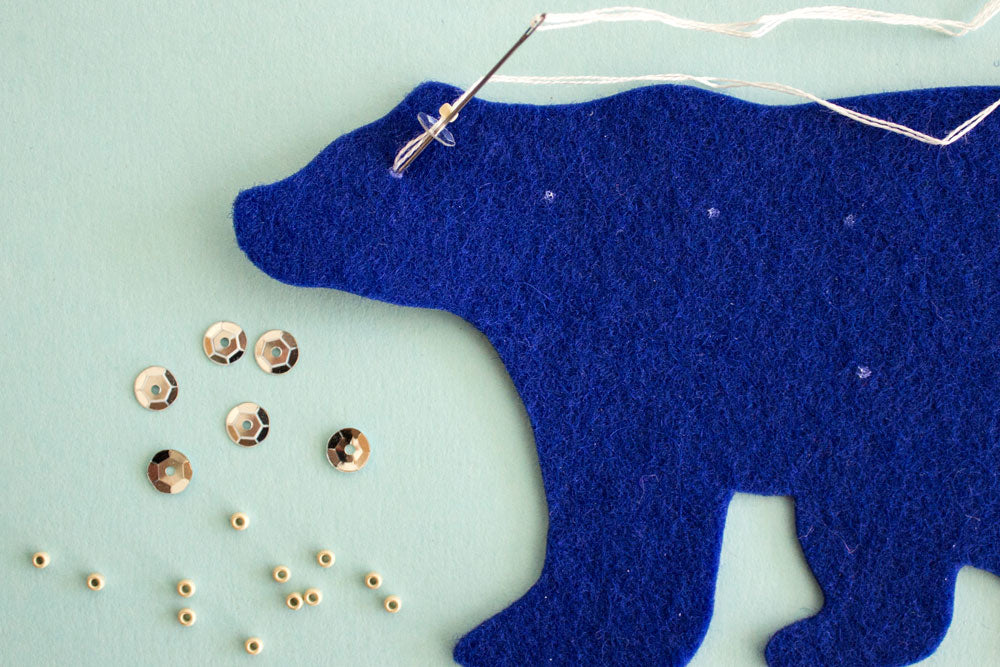
Step 4 Next, thread the needle back through the sequin and insert your needle back into the felt very close to the spot where the thread comes through from the back.

Step 5 Pull the thread tight, and you're done! Continue adding any other embroidery you like. If you're just adding some sequins, with no embroidery in between, I'd recommend securing the sequin with a small knot on the backside of the fabric before moving on.
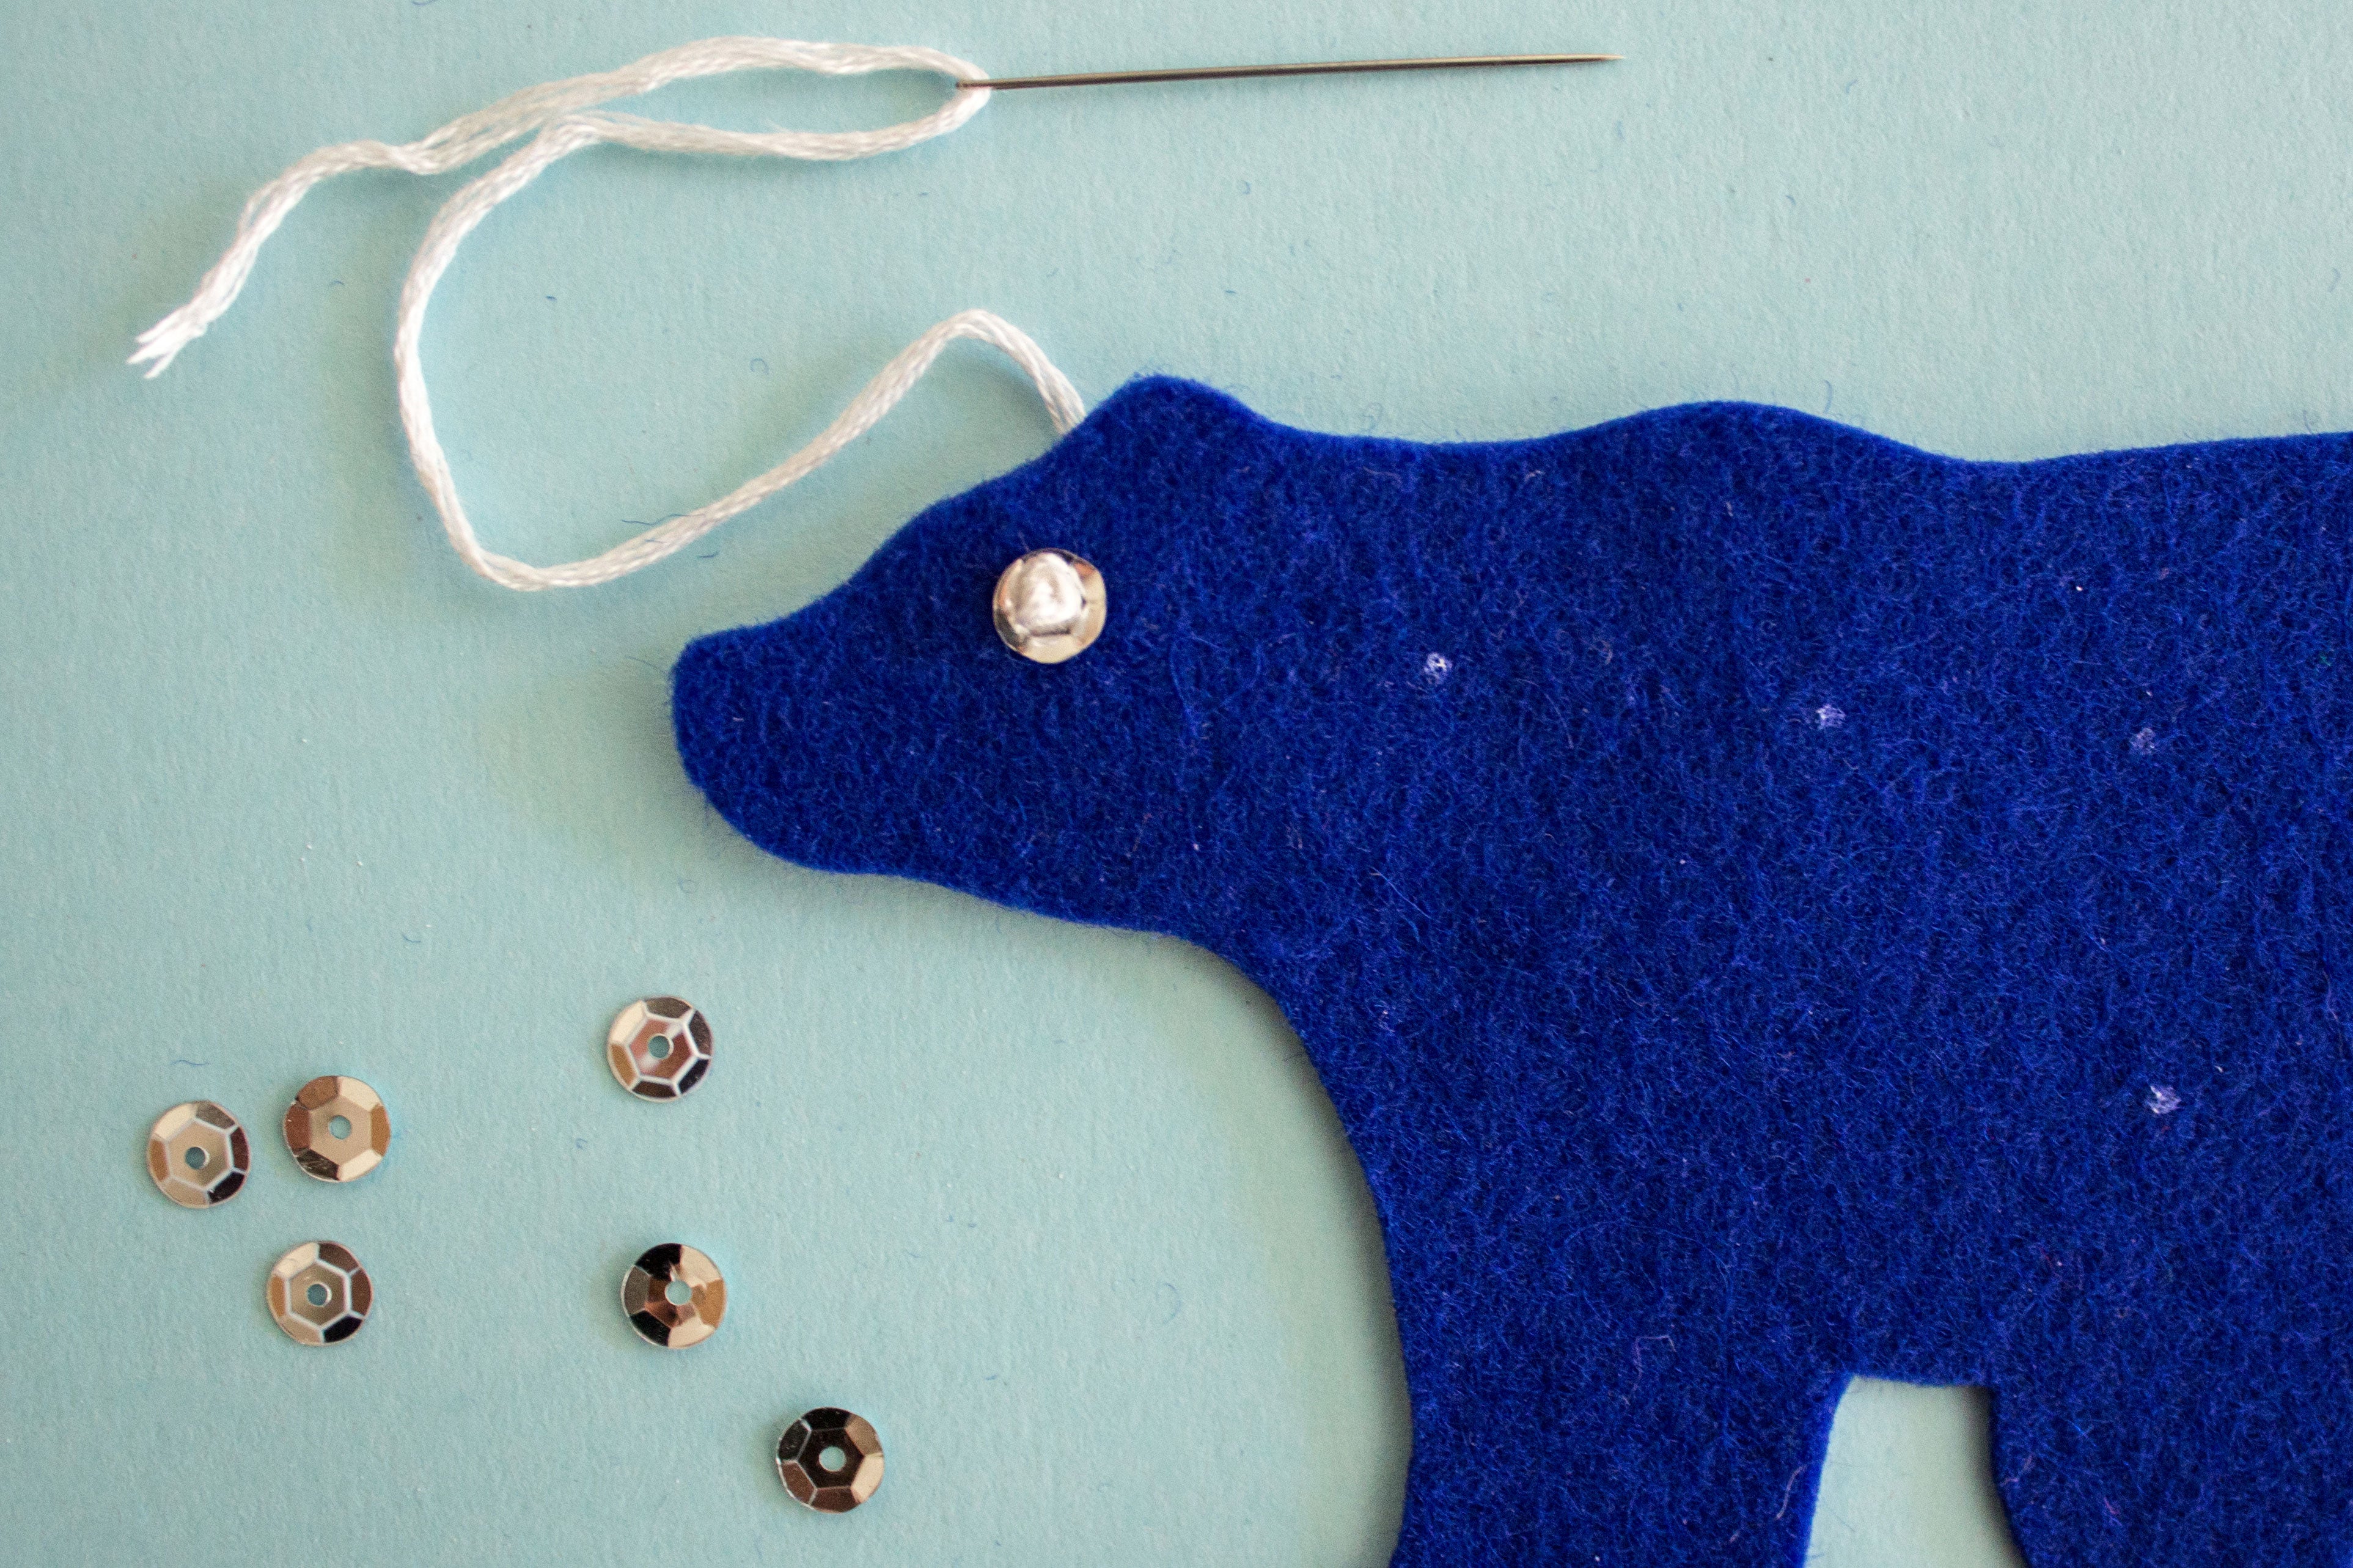
Step 5a If you prefer not to use seed beads, you can also attach the sequin with a French knot. You just need to make sure the knot is large enough to hold the sequin. Here I used all six strands of my embroidery floss to make a large enough knot.
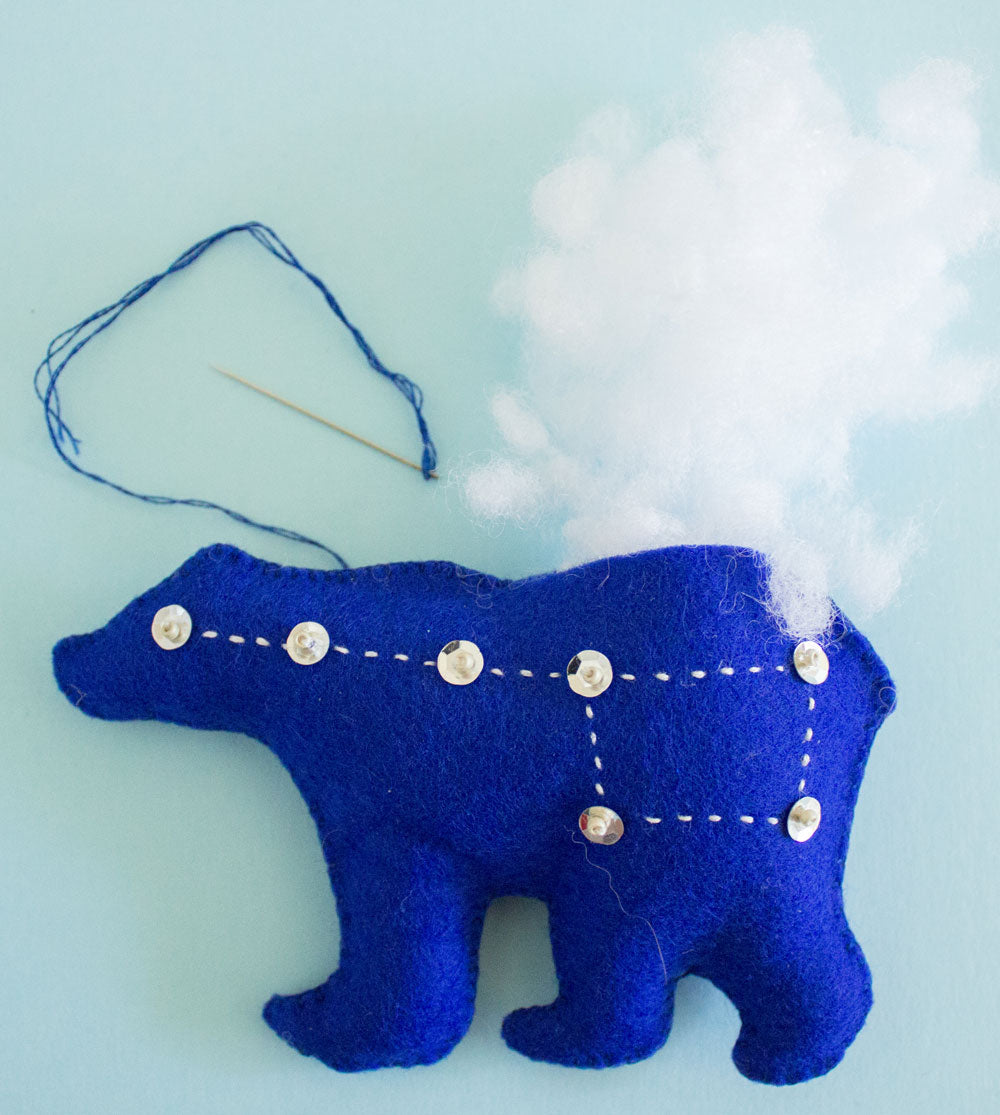
Step 6 To finish your ornament, hold together the two pieces of felt and sew around the edge with a blanket stitch. Leave a small opening at the end, stuff the ornament with stuffing, and sew it shut. You can add a small loop of thread at the top for hanging, as you can see in the first image in this post.
You can use this same technique on regular embroideries, too, to add some glitz to your latest projects.